1. In ASP.NET web project, add a new Web Form. Let's say we have WebForm1.aspx.
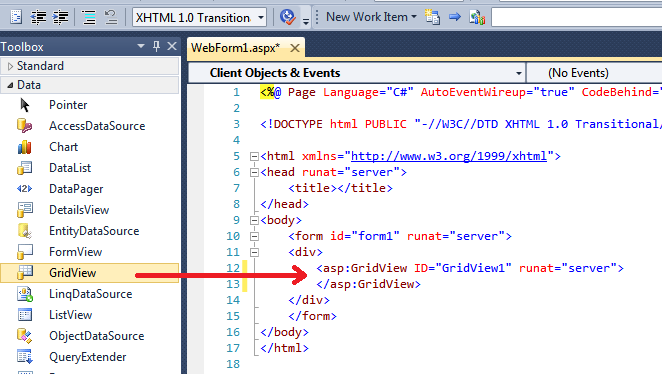
2. In WebForm1.aspx, add GridView control from ToolBox into a DIV tag (or anyplace you want)
protected void Page_Load(object sender, EventArgs e)
{
if (!this.IsPostBack)
{
LoadData();
}
}
private void LoadData()
{
DataSet ds = MyData.GetDataSet("SELECT * FROM Emp");
GridView1.DataSource = ds;
GridView1.DataBind();
}
Let's assume the MyData.GetDataSet() returns DataSet containing Emp table data (see below for this part).
To bind table data, (1) set DataSource to the dataset and (2) call DataBind() method of GridView control.
So the steps above are enough to display all table data to GridView control.
However, if the table has many rows, limiting rows per page - so called Paging - might be useful.
To allow paging,
4. Set [AllowPaging] to true and change [PageSize] to 20 from default 10. (You can change these values from Property Window). This means you display max 20 rows in one page and if there are more pages, page number will be given at the bottom.
<asp:GridView ID="GridView1" AllowPaging="True" PageSize="20" ...></asp:GridView>
5. Add event handler for [OnPageIndexChanging] event. In the event handler, the code set PageIndex property and rebind the data.
In. WebForm1.aspx :
asp:GridView ID="GridView1" OnPageIndexChanging="GridView1_PageIndexChanging" ...
In. WebForm1.aspx.cs :
protected void GridView1_PageIndexChanging(object sender, GridViewPageEventArgs e)
{
GridView1.PageIndex = e.NewPageIndex;
LoadData();
}
6. Optionally, to make it look better, add [AlternatingRowStyle-BackColor] and CellPadding. Alternating setting enables different background for every other row. CellPadding gives some spaces in each cell.
AlternatingRowStyle-BackColor="Aqua" HeaderStyle-BackColor="Silver" CellPadding="3"
So this is it.
Below is the data access class, just added here to complete the sample code.
class MyData
{
public static DataSet GetDataSet(string sql)
{
DataSet ds = null;
string strConn = "Data Source=.;Initial Catalog=MyDB;Integrated Security=SSPI";
using (SqlConnection conn = new SqlConnection(strConn))
{
conn.Open();
SqlCommand cmd = new SqlCommand(sql, conn);
SqlDataAdapter adpt = new SqlDataAdapter(cmd);
ds = new DataSet();
adpt.Fill(ds);
}
return ds;
}
}